According to ACI 347-04, “Guide to Formwork for Concrete”, bug holes are surface voids in concrete defined as small regular or irregular cavities that usually do not exceed 15 mm in diameter. They are the result of the entrapment of air bubbles in the surface of formed concrete during placement and consolidation.
Explore 12 Futuristic Technology Trends Solving Concrete's Biggest Challenges.
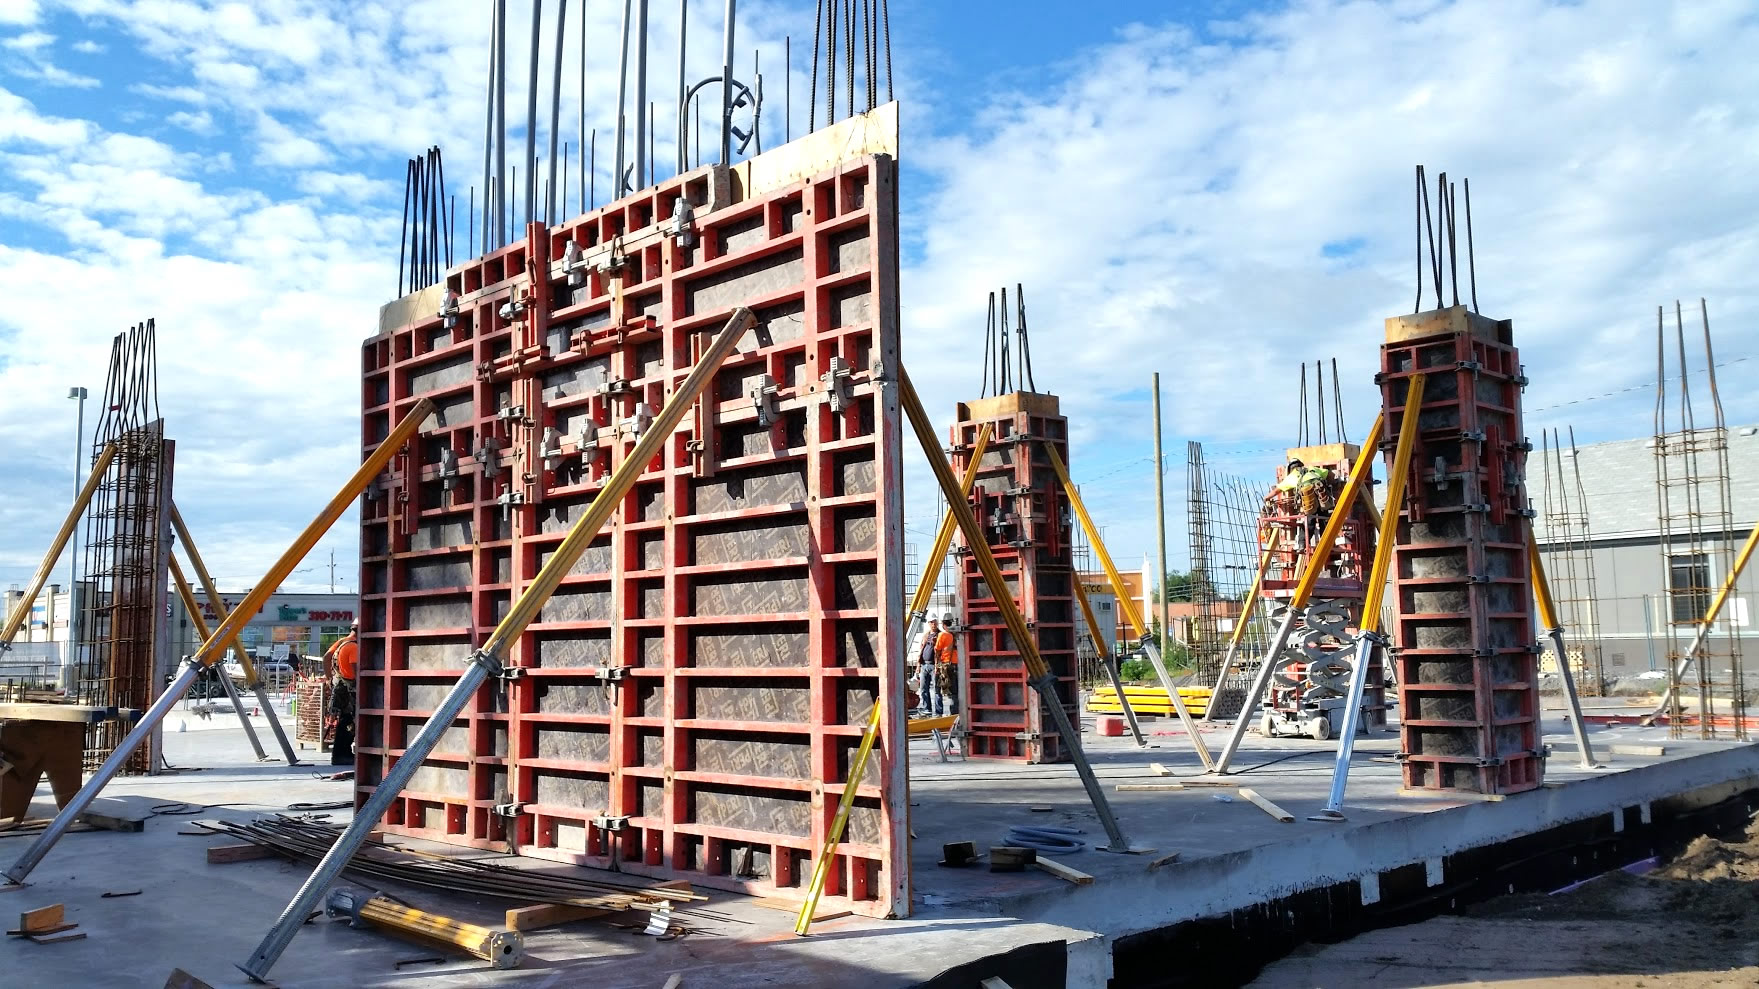
Commonly occurring in vertical cast-in-place concrete such as walls columns and beams, bugholes vary in number and size and are influenced by many outside factors. Such factors are that of the condition of the material, the release agent type and application thickness, concrete mix characteristics and finally practices for placing and consolidation.
Although the ACI 301-05 and ACI 301-10 do not specify a defined number of bugholes that are deemed permissible for vertical cast-in-place concrete, ACI 301-10 does limit their maximum size to 1½ inches wide or ½ inch deep for SF-1.0, and 3/4 inch wide or ½ inch deep. According to ACI 301-10 if the voids do exceed this, they are considered a defect and must be repaired.
So how does one go about repairing these bugholes in such circumstances?
How to Repair Surface Defects
1. Outline the surface defect with a ½- to ¾-inch-deep saw cut.
2. Remove defective concrete down to sound concrete.
3. When chipping, leave chipped edges perpendicular to surface or slightly undercut. Do not feather edges.
4. Clean substrate and remove all loose material, dust, etc.
5. Dampen patch area plus 6 inches around patch area.
6. Prepare a scrub coat by mixing equal parts of portland cement, sand (damp loose volume), and sufficient water to produce a thick cream.
7. Thoroughly brush scrub coat into substrate.
8. Mix the repair mortar using the same materials as the concrete to be patched but without the coarse aggregates. If necessary, use a blend of gray and white portland cement so the mortar matches the color of the surrounding concrete. Use only enough mixing water to create mortar with a stiff consistency but with sufficient workability for handling and placing.
9. When the scrub coat begins to lose the water sheen, apply the repair mortar and thoroughly consolidate into place.
10. Strike off mortar, leaving the patch slightly higher than the surrounding surface to compensate for shrinkage.
11. Leave the patch undisturbed for 1 hour, then finish to match the texture of the surrounding concrete.
12. Keep the patch damp for 7 days.
Source: Concrete Construction: Repairing Bugholes